HOW TO GROW GARLIC
PLANTING GARLIC
Garlic is always propagated from garlic cloves. The time to plant garlic is crucial for the success of cultivation. In our experience garlic can be planted in the summer rainfall areas at the beginning of March through to April or when the weather starts cooling down. In the winter rainfall areas, it is always best to wait for the first rains to fall, this could be middle to end of March through to May. We have successfully planted garlic as late as June in the Cape. As long as the weather is cool, which garlic likes.
Garlic should be planted in full sun in well drained soil, rich in organic matter with a neutral Ph or slightly acidic. Turn tor rotavate the soil at least 30cm deep. We have found that raised beds work very well as it ensures well drained soil and gives the garlic space to spread their roots.
As close to planting as possible, no more that 3 days, of planting pop the heads of garlic open. Discard any damaged cloves. Making a hole with a dib stick , push the clove, root side down about three times the length of the clove and cover with soil. Gently firm down. Water thoroughly but keep in mind that garlic needs about 25mm of water weekly, so don’t over-water.
Plant your garlic 15 to 17 cm apart in summer rainfall areas and further 20 to 25cm in winter rainfall areas. The width of a bed should be no more than 1m wide, to allow for easy cultivation. The space between the beds must be 1m wide.
Living in a townhouse or flat? You can grow garlic in containers. Fill your containers with potting soil, not ordinary garden soil, and plant the garlic at least 5cm away from the rim, giving them their proper spacing of 15 to 25cm depending on where you live.
Lemon trees love garlic, so if you have a little lemon tree in a tub, why not ring it with some lovely garlic? Borers, caterpillars, and cutworms will not cross that barrier! Other companions to garlic are spinach, chard, tomatoes, beetroot, and roses. We found that our chard grew even lusher when interplanted with garlic. Do not plant garlic with strawberries, beans, peas, broccoli or any brassica. They really do not like garlic.
Mulch is essential and a huge labour saving device. Garlic is blessed with a very strong leader leaf and I have found it pushed through a 10cm layer of green grass clippings! So if you are blessed not to have too strong winds, mulch with green grass clippings or any other mulch you can get your hands on. I like the green grass clippings because while the garlic is shooting its roots, the clippings will start to decompose, releasing all its nitrogen into the soil. (no plant burn). By the time the leader leaf has pushed through, about 6 to 8 weeks, the clippings will not be green anymore, but should have settled into a nice even thick mat. No more weeding in the garlic field!
In very windy areas, mulch could be a problem, you will have to experiment with various mulches. I have found that green grass clippings, if you can get enough to cover your area, works well if you water immediately after putting the mulch down. Our friend Jim Capellini once told me that he was experimenting with thick kraft paper, but I don’t know how that worked out. For me that did not work because our winds were too strong.
In the winter rainfall areas, like the Western Cape, ensure that your spacing is the biggest possible to prevent a rust infection.
GROWING
When the green tops start growing, by all means give a nitrogen rich fertiliser, but not when the plant starts forming it’s bulbs, then you want nutrients that will assist the bulbing.
If you have mulched properly, you will need to do precious little, apart from watering and the occasional feed. The garlic knows how to do its job! If you live in a winter rain area, watch out for rust. It will show as rusty coloured spots on the leaves. Remove infected leaves straight away and burn.
We have found almost no enemies for garlic in the last 25 years. Except when we moved our garlic to the Western Cape. Rust can be a problem, but it can be overcome. Farming with garlic in the Western Cape has taught us a lot about rust. Firstly, make sure you have a large spacing between plants. Secondly, not too much nitrogen, the juicier the leaf, the nicer it is for rust. If you have rainy weather followed by unusually warm weather, spray with an organic copper spray immediately.
HARVESTING
Stop watering 2 weeks before harvesting, you do not want to harvest wet muddy garlic! You will know your garlic is ready, when you have 6 – 8 green leaves present and the bottom ones are brown and shrivelled. Gently open the earth around the bulb to make sure it’s large enough, if not, close up and try another day. The leaves represent the wrappers and you do not want less than 6 on harvesting. The wrappers help store the garlic better.
Move the harvested garlic out of direct sunlight as soon as possible and hang in bundles in a well ventilated space with a fan to assist the curing process. I like to cure for a minimum of 3 weeks and the bigger garlic up to 6 weeks. This step is very important, as you want the wrappers to seal properly around the bulb, to act as a natural vacuum pack.
Once the garlic is properly cured, your garlic can be stored in a dry, cool and dark space. Eat and enjoy!
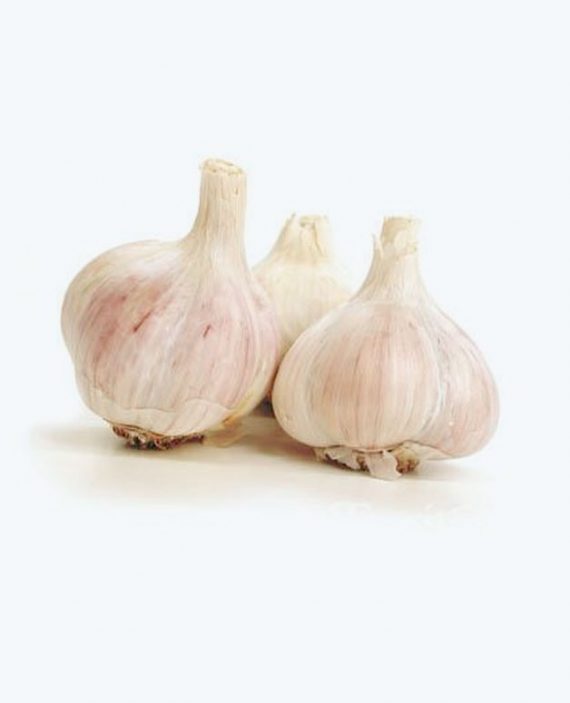
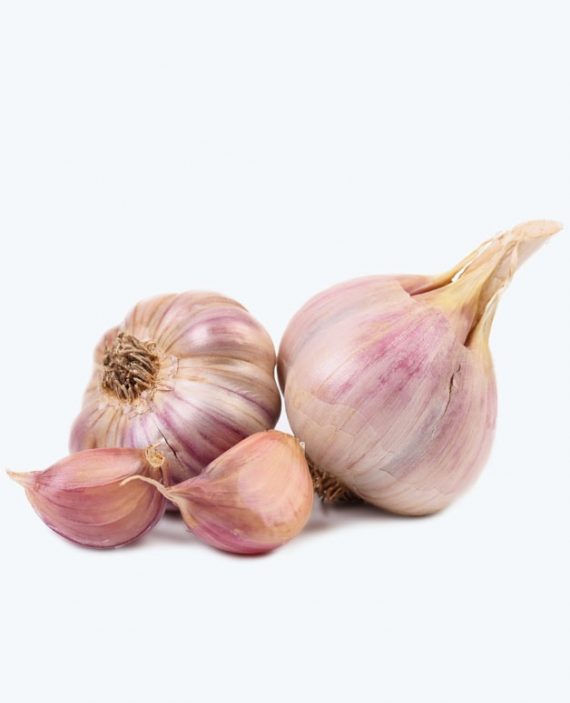
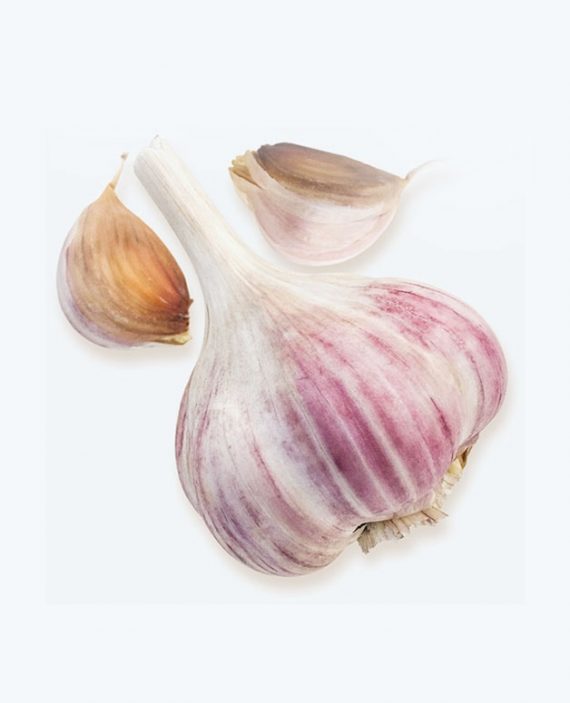
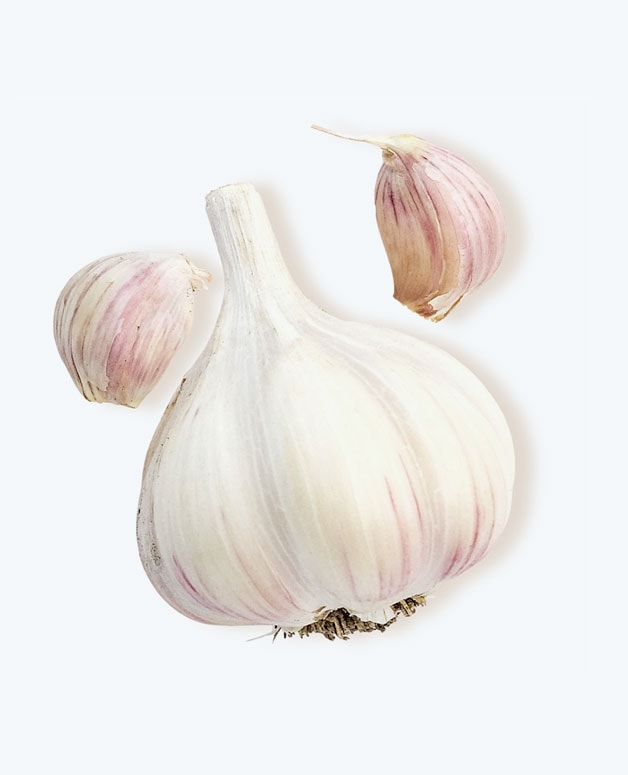
BUY GARLIC SEEDS
Chesnok Red R20.00 – R1,500.00
